Blog
The Secret to Making Chewy Tapioca Pearls at Home
Making chewy tapioca pearls at home can seem like a challenging task, but with the right ingredients and techniques, you can create a batch of fresh, soft, and perfectly chewy pearls that will elevate your homemade bubble tea experience. Whether you’re craving a classic milk tea or a fruit-flavored concoction, these tapioca pearls are the key to achieving that satisfying texture in every sip. Here’s a step-by-step guide to making chewy tapioca pearls at home, along with some insider tips for achieving the perfect consistency.
Ingredients You’ll Need
To make chewy tapioca pearls from scratch, you only need a handful of ingredients, which are quite easy to find in most Asian grocery stores or online.

- Tapioca starch (or tapioca flour) – This is the main ingredient used to create the pearls. Be sure to use tapioca starch (not cornstarch), as it provides the proper texture.
- Boiling water – You’ll need hot water to help bind the starch and form the dough.
- Brown sugar (or white sugar) – This adds sweetness and a rich flavor to the pearls. Brown sugar is especially popular for creating the signature caramelized color and flavor, but you can substitute it with white sugar or honey if preferred.
- Optional: Food coloring – If you want to make your pearls more fun and vibrant, you can add a drop or two of food coloring to the dough. However, this is entirely optional.
- Cornstarch – This is used to prevent the pearls from sticking together while you shape them and store them.
Step-by-Step Guide to Making Chewy Tapioca Pearls
Step 1: Prepare the Syrup
Start by making a sugar syrup to coat the pearls once they’re cooked. This will give the pearls a glossy finish and prevent them from sticking together.
- In a saucepan, combine 1 cup of brown sugar with 1/2 cup of water. Heat it over medium heat, stirring occasionally, until the sugar dissolves and the syrup thickens slightly. Once it’s ready, set it aside to cool.
Step 2: Mix the Dough
To create the dough for the tapioca pearls, start by boiling water.
- Bring 1 cup of water to a boil. Once boiling, pour the hot water into a mixing bowl with 1 1/2 cups of tapioca starch.
- Stir the mixture quickly, using a spoon or chopsticks, until it forms a sticky, thick dough. Be careful when handling the hot dough, as it will be scalding at first.
- Allow the dough to cool for a few minutes before kneading it with your hands. Add a pinch of cornstarch if the dough is too sticky.
- Continue kneading for about 5-7 minutes, or until the dough becomes smooth and elastic.
Step 3: Shape the Tapioca Pearls
Now comes the fun part—shaping the pearls!
- Break off small pieces of the dough (about the size of a small marble or a pea) and roll them between your palms to form round balls. Make sure the pearls are uniform in size to ensure even cooking.
- After shaping all the pearls, lightly coat them with cornstarch to prevent them from sticking to each other.
Step 4: Cook the Tapioca Pearls
Cooking the pearls properly is key to achieving that chewy texture. Follow these steps:
- Bring a large pot of water to a boil. You’ll need enough water to fully submerge the pearls while they cook, so use at least 4 cups of water for every 1 cup of tapioca pearls.
- Carefully drop the shaped tapioca pearls into the boiling water. Stir them gently to prevent them from sticking to the bottom of the pot.
- Once the pearls start to float to the surface (about 2-3 minutes), lower the heat to medium and let them cook for another 15-20 minutes. You want them to be fully cooked and chewy on the inside. For extra chewy pearls, you can let them cook a little longer.
- After cooking, remove the pearls from the heat and let them sit for another 10 minutes. This will allow the pearls to firm up a bit.
Step 5: Sweeten the Pearls
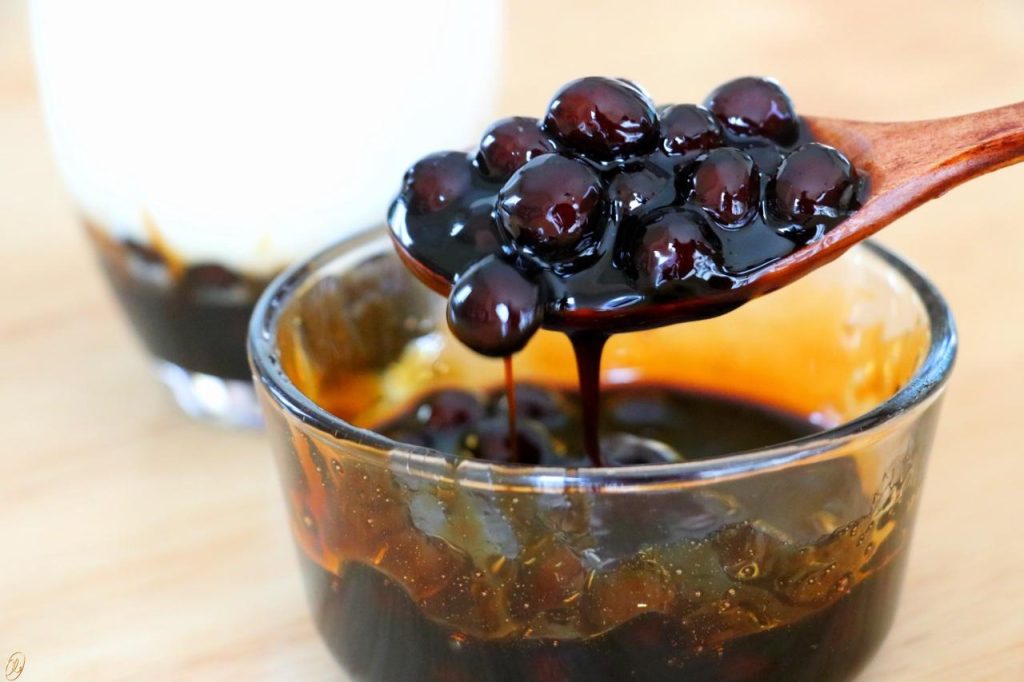
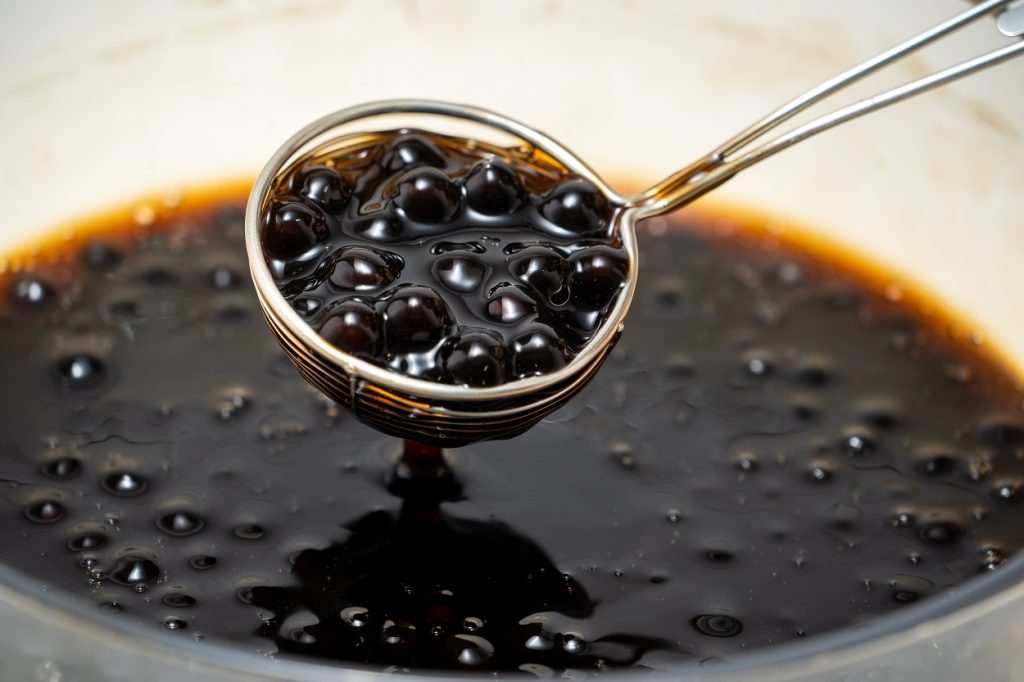
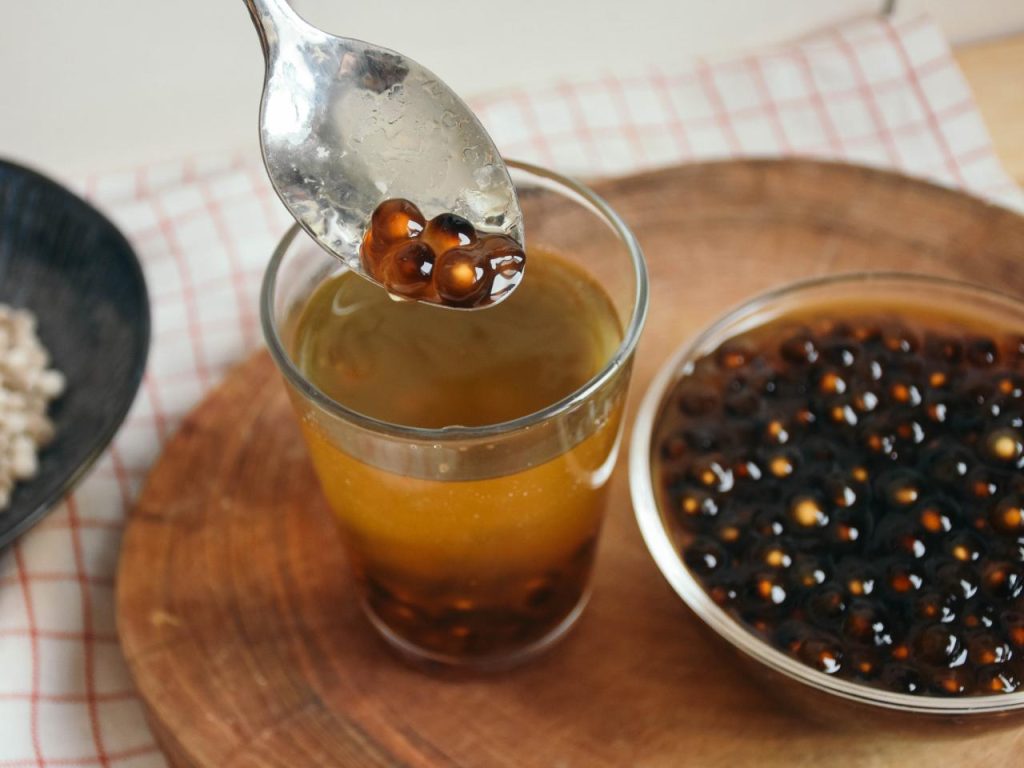
After the pearls have finished cooking, drain them and immediately transfer them to the cooled sugar syrup that you prepared earlier. Stir the pearls gently in the syrup to coat them evenly and let them absorb the sweetness.
Allow the pearls to sit in the syrup for at least 30 minutes before serving, as this will enhance the flavor and texture.
Tips for Perfect Chewy Tapioca Pearls

- The Right Texture: If your tapioca pearls turn out too soft or mushy, it might be due to either overcooking them or not using enough tapioca starch in the dough. Adjust the dough’s consistency by adding a bit more tapioca starch if it’s too sticky, or cook the pearls for a bit longer if they’re too soft.
- Brown Sugar Syrup: The syrup is essential not only for sweetening but also for giving the pearls that distinct brown sugar flavor. Don’t skip this step! You can also experiment with different types of sugar (like palm sugar or honey) to create unique flavors.
- Storing the Pearls: If you’re not serving the pearls immediately, store them in a sealed container in the sugar syrup in the fridge. They can be stored for up to 2-3 days, but the longer they sit, the softer they become. Make sure to reheat them in warm water before using if they get too hard.
- Cooking Large Batches: If you’re planning to make a big batch of tapioca pearls, work in smaller portions to prevent them from clumping together during the cooking process.
- Adjusting the Sweetness: You can control the level of sweetness by adjusting the amount of sugar in the syrup. Start with a smaller amount of sugar and gradually increase it based on your taste.
Troubleshooting Common Tapioca Pearl Issues
- Hard Pearls: If your pearls are too hard, they might need more cooking time. Make sure to cook them until they are soft in the center. If you’re using non-stick tapioca pearls, make sure they are fresh and have not been stored too long.
- Pearls Sticking Together: This happens if the pearls are not coated with enough cornstarch, or if they’re stored improperly. Make sure to coat the pearls lightly in cornstarch after shaping them, and store them in syrup immediately after cooking.
- Dough Too Dry or Too Wet: If your dough is too dry, add a little more water; if it’s too wet, add more tapioca starch. The dough should be smooth and not too sticky.
Conclusion: Why Homemade Tapioca Pearls Are Worth the Effort
While making tapioca pearls at home requires patience and attention to detail, the reward is well worth it. You’ll enjoy fresh, chewy pearls that elevate your bubble tea experience like never before. Whether you’re sipping on a classic milk tea or experimenting with unique flavors, homemade tapioca pearls offer a customizable touch to your bubble tea creations. Plus, you can adjust the sweetness and flavor to your liking, ensuring that your pearls are always the perfect match for your taste. So, grab your ingredients, follow this guide, and get ready to enjoy the most authentic, chewy tapioca pearls made right in your own kitchen!


